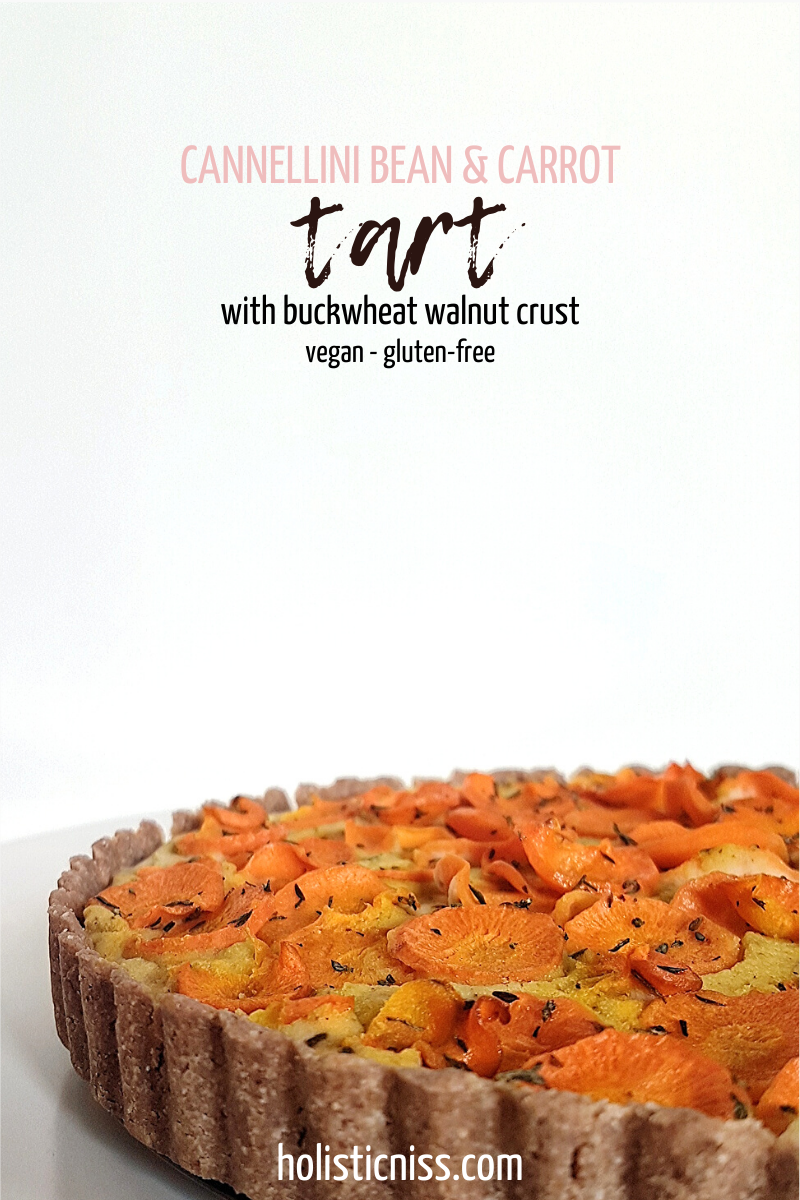
Savoury Cannellini Bean & Carrot Tart with Buckwheat Walnut Crust
Savoury tarts can be real show stoppers at a dinner party or pot luck. The filling options are endless and it’s a great way to showcase seasonal vegetables. They are also a tasty, easy way to get lunch or dinner on the table for your family or a small dinner party. All of the components can be prepped in advance, assembly takes minimal time and effort, and then you pop it in the oven and it does all the work while you tend to your guests, play with your kids or chill with a book. Prepare a side salad or two and you’re good to go.
This savoury tart is made with a cispy cracker thin buckwheat walnut crust, filled with creamy cannellini beans and topped shaved thyme carrots. It’s delicate and delicious, kid, picky eater and bean hater friendly, completely plant based and gluten free. I’ve added advance prep notes in each step below in case you want to prepare the tart, some or all of the components in advance.
Savoury Cannellini Bean & Carrot Tart with Buckwheat Walnut Crust
Author Nissrine Boufawaz @ HolisticNiss.com
- Time 60 minutes (active time 25 minutes)
- Difficulty Easy
- Servings 1 - 9 inch Tart
- Diet vegan, gluten free
- Category Main Courses
Ingredients:
For the Crust
- 1 C (120g) Buckwheat Flakes*
- 1/3 C (35g) Walnuts, shelled
- 1/2 Tsp Fine Sea Salt
- 1 Tbsp Nutritional Yeast
- 4 Tbsp Filtered Water
- 2 Tbsp Extra Virgin Olive Oil
For the Filling
- 2 C (270) Cooked Cannellini Beans (white beans), drained well
- 3/4 C Water (add slowly)
- 2 Tbsp Extra Virgin Olive Oil
- 2 Tbsp Dehydrated Onion Flakes
- 1 Tsp Dried Thyme
- 1/4 Tsp Garlic Powder
- 1/4 Tsp Fine Sea Salt
- Fresh Ground Black Pepper, to taste
For the Carrots
- 1 Large Carrot, shaved into thin coins
- 1 Tbsp Extra Virgin Olive Oil
- 1/2 Tsp Dried Thyme
- 1/4 Tsp Salt
Method:
- Prep Work - preheat oven to 180 C and grease a tart pan. Gather and measure all of your ingredients carefully.
- Make the Crust - Combine all crust ingredients in a food processor and process on high speed until the ingredients are well combined, then press evently into a greased tart pan and poke several holes into the base with a fork. Blind bake for about 15 minutes. Remove from the oven and set aside to cool. You can make and bake the crust up to 3 days in advance, just don't remove it from the tart pan or it may break. Let it cool completely then place the tart pan directly in an airtight container at room temperature until you're ready to use it. If you don't have a container big enough, simply wrap the crust really well, in plastic wrap or better yet beesewax wrap.
- Make the Filling - Add all ingredients to a blender and blend on high speed until you have a smooth and creamy texture that neither too thick nor too thin. Add the water 1/4 cup at a time and adjust as neccessary. The filling should be pourable, but not liquidy. Leave the filling in the blender and set it aside until ready to use. You can make the filling up to 3 days in advance. Store it in an airthight container in the refrigerator until ready to use.
- Prepare the Carrot Topping - Shave the carrots into thin coins using a mandoline. Don't make them paper thin or they will burn before the tart has fully cooked. Toss carrots with evoo, thyme and salt and set aside until ready to use. You can shave the carrots in advance and store them in a jar filled with water until you're ready to season and use them. Just be sure to drain the water and pat them dry before adding oil and seasoning.
- Assemble the Tart - Once the crust has cooled, pour the filling into the crust and top it with the shaved and seasoned carrot coins.
- Bake the Tart - Place the tart on the center rack and bake until the carrots are roasted and the cannellini bean cream is set, about 35 minutes. The tart can be baked a day in advance, stored in the refrigerator and reheated in the oven before serving, either whole, or by the slice. To prevent it from over cooking, remove it from the refrigerator a few hours before serving so that it comes down to room temperature and reheat it at a moderate temperature until warm.
- Serve the Tart - Remove from the oven and let it cool a bit before removing from pan. Let it cool down so it's warm to the touch but not too hot before slicing and serving with a side salad or slaw.
Notes
- Buckwheat flake resemble quick cooking oats. If you can't find them where you are, just use the same amount of buckwheat flour by weight and adjust the water and oil content as required to make sure it's not to dry and you can press it together in the tart pan.


